
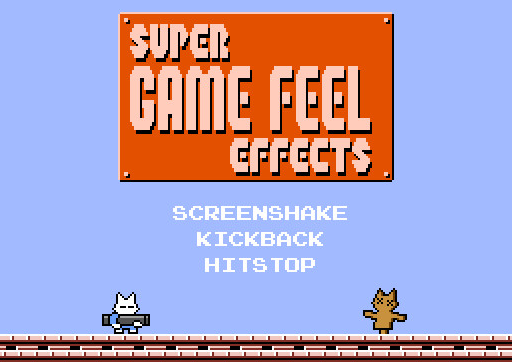
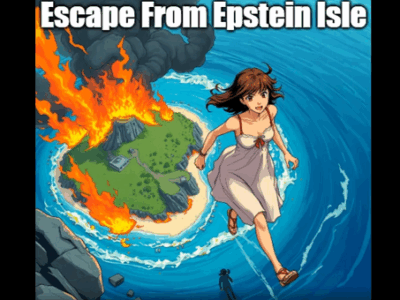
A while back I talked about a guy who making art for the project. I was all excited, after he made the excellent image below. To my great disappointment, I never heard back from him after that.

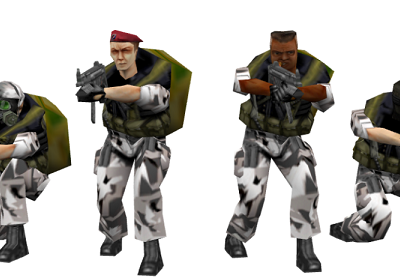
It is no secret that Escape From Epstein Island looks like trash. You won’t hurt my feelings for criticizing my programmer art. I am very aware that this is not what a AAA product looks like, and have wanted improved art assets for quite some time.
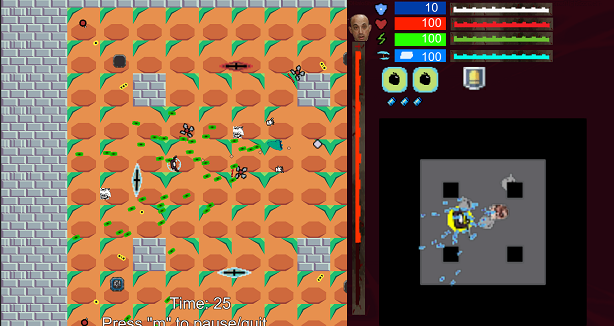
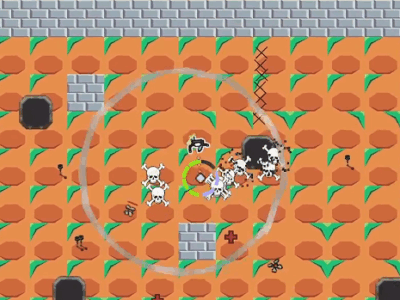
Having said that, a lot of good graphics, where good is some combination of clarity and quality, comes down to programming. To that end I dedicated some time to implementing hit stop/screen freeze, screen shake, and a nice shader effect where enemies flash after being hit. Here’s what these three effects look like when combined.
Screen freeze, otherwise known as hit stop, is present in action games, and particularly noticeable in fighting games. Stopping the action for a tiny fraction of a second when something gets hit makes it feel weighty and important. Not doing this makes the game feel floaty and weird.
A basic implementation of freeze frame, done whenever the player successfully melee’d an enemy, was fairly easy to implement. All I needed to do was set the Timescale of the project to 0, resuming after a very brief period of time with no interpolation. Since you can’t use Unity’s internal timer after you’ve set the timescale to zero, since that’s kind of the point, I initially tried counting frames. Unfortunately, that lead to extremely wonky behaviou. The framerate can and will fluctuate, and using the FixedUpdate function, which is designed to run at, well, fixed time intervals, also doesn’t work since this is also affected by the changed Timescale.
I implemented my fallback option; starting a coroutine when the game is stopped, which runs when the game starts again. It’s essentially a way of implicitly using an external timer. I could have done this by importing an actual external timer into the project, and expected that I would, but this solution ended up working perfectly.
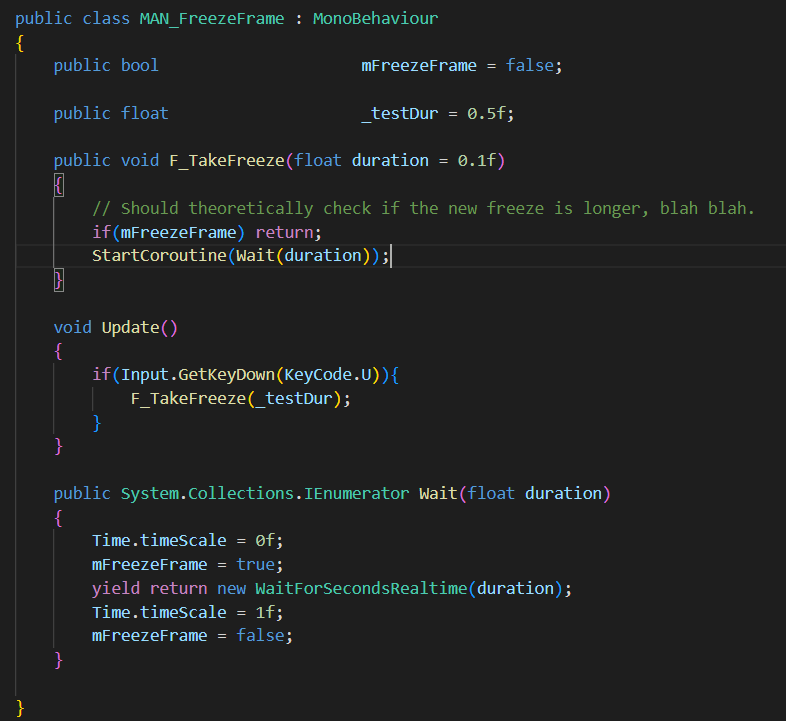
The Update() function was eventually removed, as it was only used for debugging. It really is that simple.
Although, as detailed in the above video, proper hitstop isn’t just stopping the entire project. The hit enemy needs to be shaken/wiggled around to really sell the effect. Nevertheless, my initial implementation was so quick and simple that I decided not to get bogged down with the details, and I will return to later. Even the simple version is nice.
Screenshake is in the category of graphical effects, alongside bloom, lens flares, and many others, that is great in small amounts and ruinous when overdone. The method of shake is also crucial, and there are also a number of different algorithms that can be employed to provide us this effect.
I opted for the absolute simplest, where we move the camera in a random direction per frame, with this effect linearly decaying to nothing after a set amount of time. I’m sure that this isn’t as good as using Perlin Noise, or some other more subtle screenshake effect, but it’s dead simple and worked surprisingly well, especially when the shake is relatively small. As with hitstop, I’ll revisit this at a latter date.
These two effects, screenshake and screenfreeze, collectively little more than a day to implement. The simple shader program to highlight enemies that take damage? No, that was pure pain.
Making the enemies flash when they take damage is not a groundbreaking special effect in a game. You can find any number of tutorials, video or otherwise, on the subject. Unfortunately, every single one of them appeared to be aimed at artists, not programmers.
Shaderlab, for artists.
Unity has something called “ShaderLab,” which allows non-programmers to create relatively custom shaders. I say “relatively custom,” because it is no more possible to let artists create arbitrary shaders without code, than it would be to let artists create arbitrary game logic without code. Eventually, to get what you want, you’re going to have to program it.
Besides that, all I wanted to do was a very simple effect, where a character flashes to a certain colour after being hit. I didn’t need anyone to show me the pixel shader code itself, I just need to figure out how to write a custom pixel shader that uses the default Unity sprite shaders up until the very end. This should have been trivial, except the documentation for this is non-existent, and online tutorials are garbage.
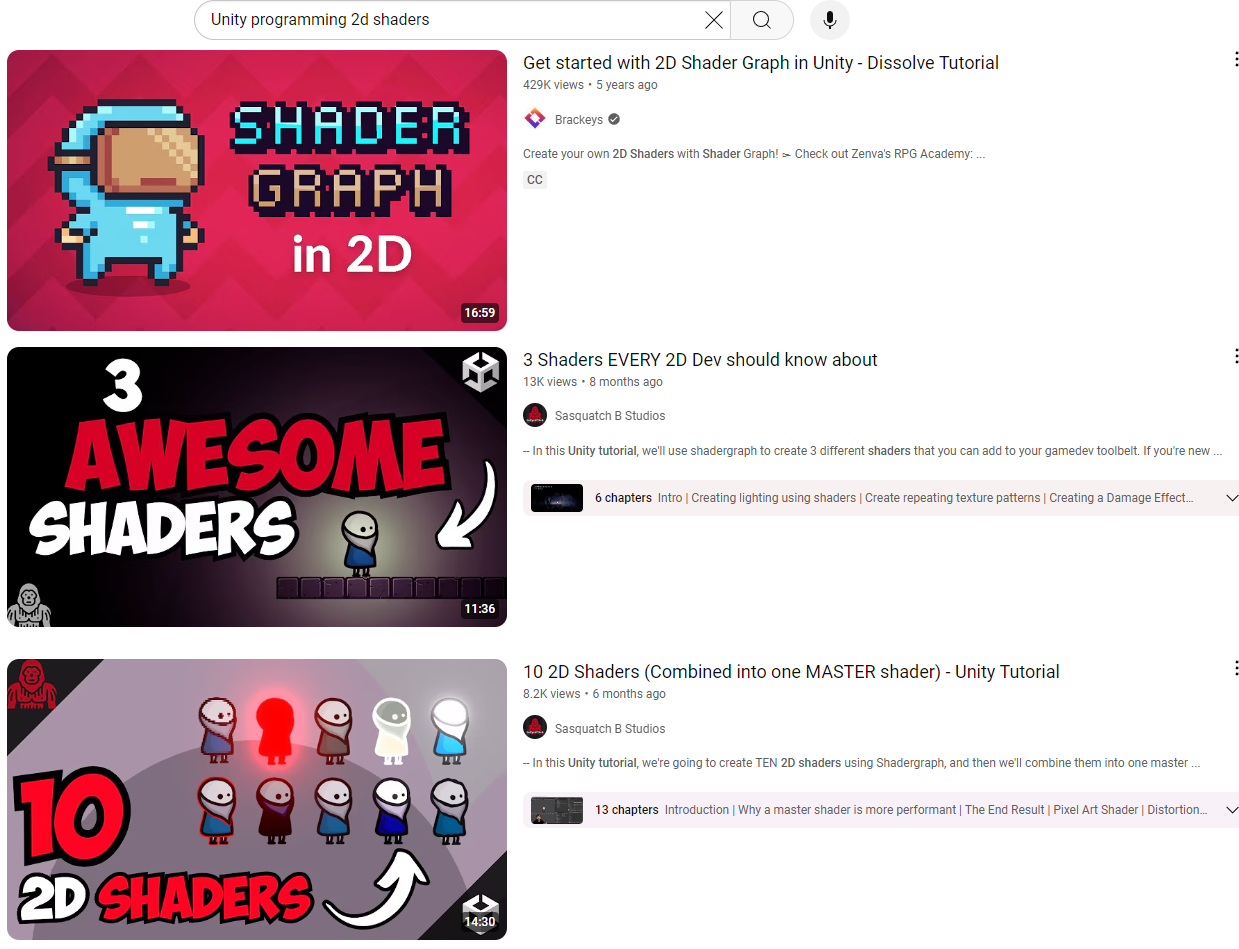
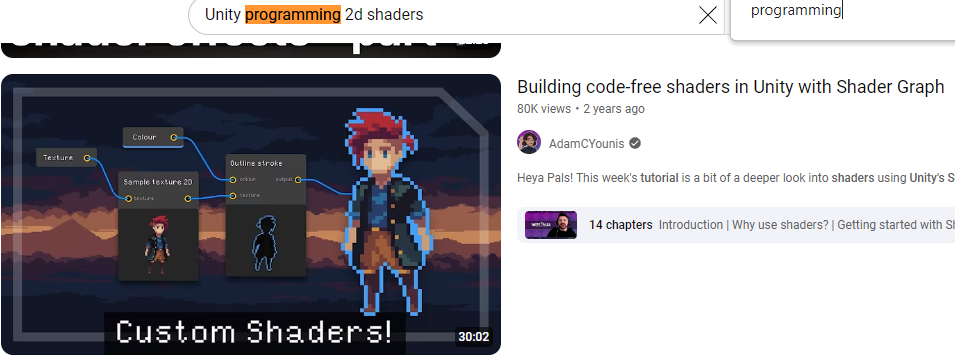
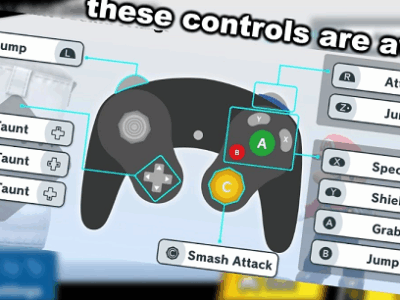
This is what you get when you search for “Unity programming 2d shaders,” in YouTube. The below video is explicitly about “code-free shaders,” and it’s the fourth video from the top. Other online sources are no better with the official Unity documents being worthless garbage.
I can’t stress enough how trivial a task this should be. Yes, the graphics pipeline can be extremely complicated, but all I need to write a few lines of code modifying the default pixel shader. This is the Hello World equivalent for shader programming. It’s supposed to be dead simple.
Instead, in order to create a simple 2D shader that mostly reproduces Unity’s default – missing a few small features – I had to find the personal website of some guy named “Ronja,” and copy his modification of a 3D shader, just so I could write my own extremely simple pixel shader.
Once that was done, writing the actual shader was as trivial as I knew it always would be, since all we are doing is overwriting the non-transparent pixels of a sprite with set colour.
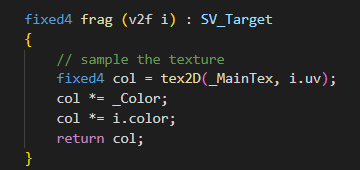
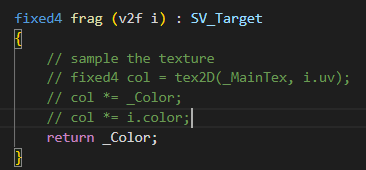
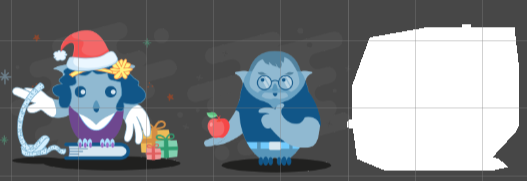
Above is the original pixel shader, which renders a sprite exactly how you would expect it. Below is the pixel shader that overwrites all pixels with a solid colour. Obviously, this doesn’t give us the desired effect, since it turns all the transparent pixels white as well.
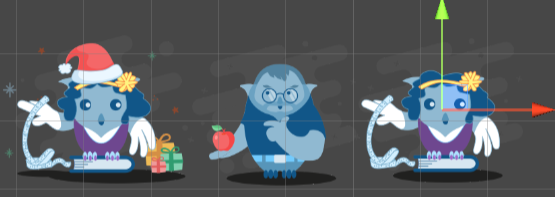
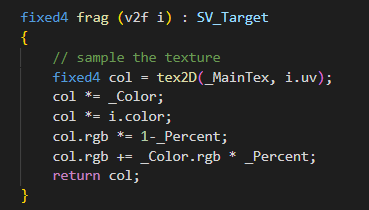
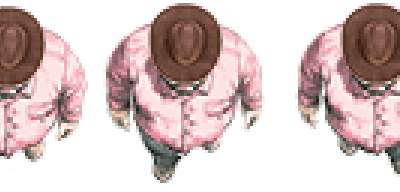
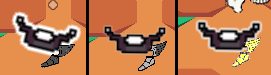
Instead, we pass into the shader a variable that controls the strength of the effect, called percent, and blend the original final colour with the bright white colour. We ignore the alpha channels, since the transparency of any individual pixel should remain the same. Unfortunately, the sprite that I chose has this weird cloud thingy around it, which may confuse the reader, but I hope it isn’t too distracting.
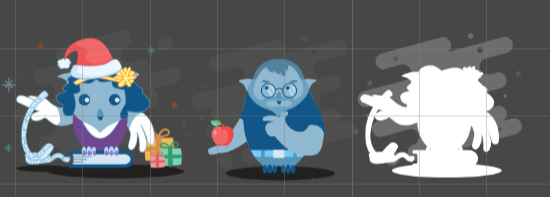
Just after being hit.
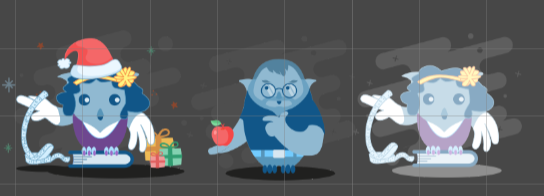
Halfway decayed.
To make this work, we also need to create a script that passes in the correct values to the shader, so it knows how to render the object.
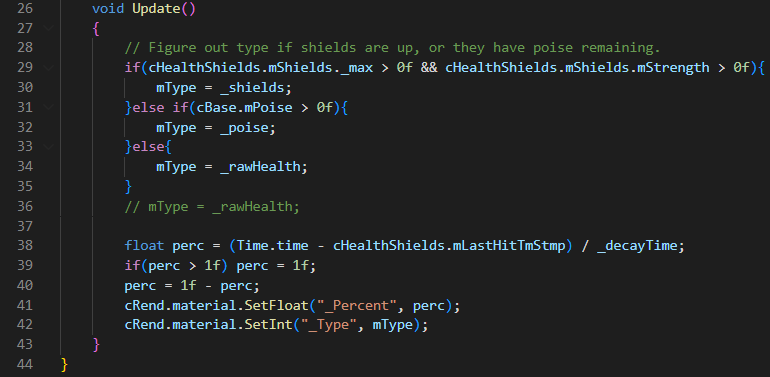
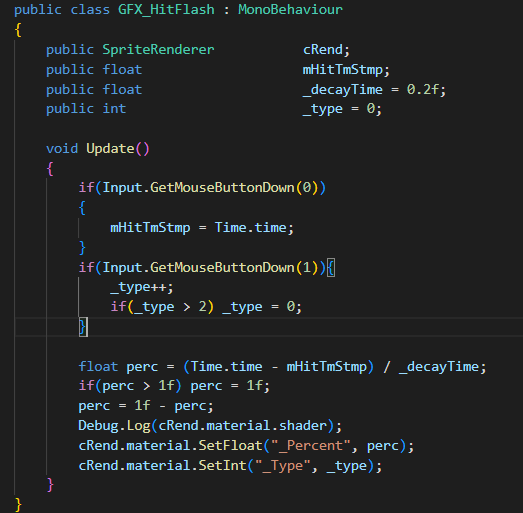 Above is the script for the test project. Below is the relevant portion of the script that is attached to the enemies in the actual game. Basically, if they have shields, flash blue, if they have poise/superarmour, flash orange, and if they don’t, flash white.
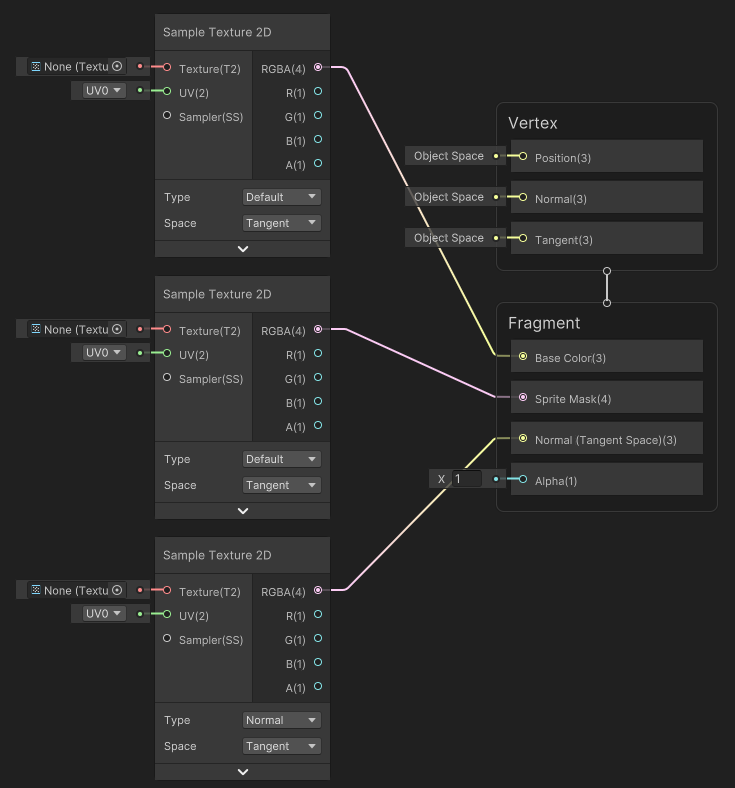
There are definitely shaders that require a ton of complicated math, but this isn’t one of them. It’s borderline trivial, yet here’s the entire shader that you need to write, just in order to write the trivial pixel/fragment shader at the end.
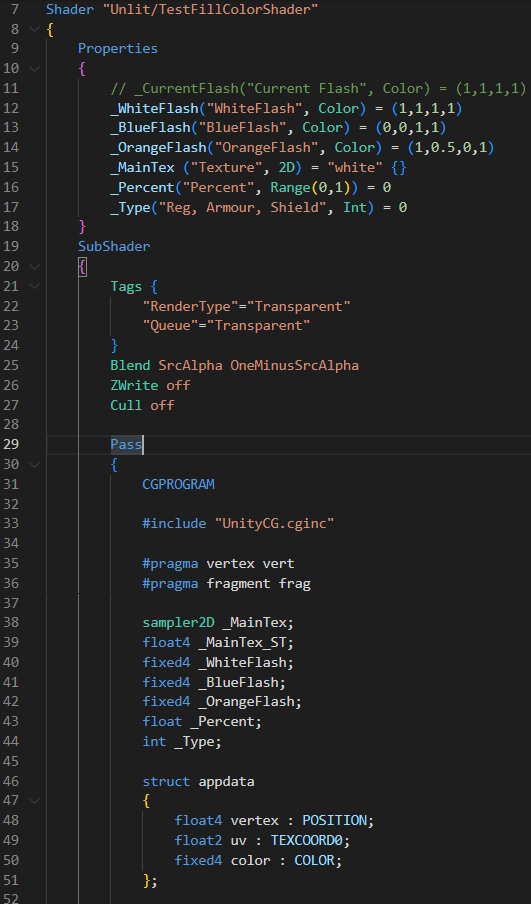
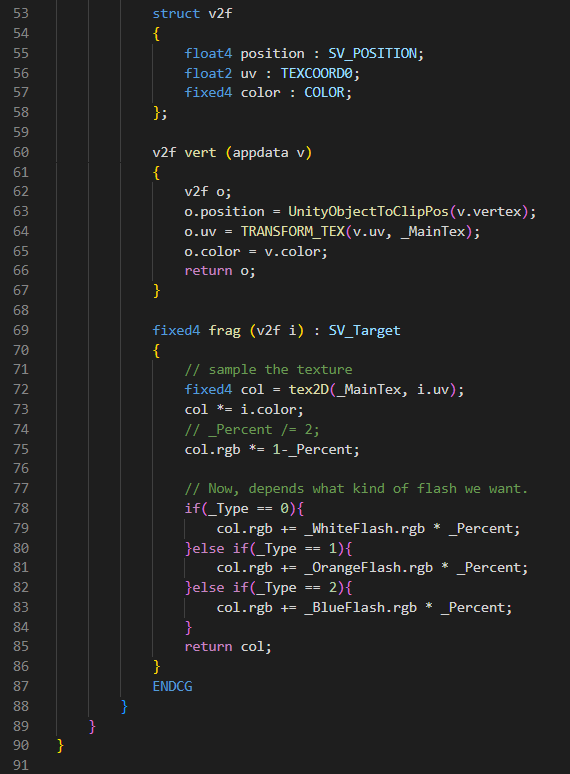
Yes, I am aware that these conditional statements are terrible for performance.
This uses plenty of Unity specific code, which means that no one is able to write this without some reference, and those references were nearly impossible to find online. This is in no small part due to Unity apparently not allowing people to write simple pixel shaders on top of their default sprite shaders, which is truly astonishing. It’s so bad that I even saw people advising others to ignore Unity’s render pipeline and implement their own. If have to implement your own rendering pipeline you might as well just make your own game engine. Ridiculous.
Anyway, I’m happy with the way these graphical effects turned out, and I’ll save my rant about computer graphics for another time.


Imma give you a hard demand for once, the combat lacks pacing, you have normie speed and then slow down when firing, this is ok and adds tactical layer.
But a simple 3 second generation dash can spice this game up a lot.
Dashing through a gap is essential of any such a game.
Also i dont like the gun sound its really annoying, and I’ve never liked the idea of burst firing, but this a personal taste.
I would probably go for a heavier sound with minor echoing and a singular shot or shell or laserbeam.
But again this is personal and whatever it dont matter.
There is a complete combat overhaul incoming soon, including a similar feature, where you can throw a pipe down and then teleport instantly to it, with some cooldown. I will say that the sounds are entirely placeholder for now. I also find every single one of them annoying, and debug the game in silent mode.